October 1, 2012

Split Pea Soup

I've totally been nesting lately.

Not in a bun-in-the-oven kinda way (don't worry!) but in a different way. This sounds ridiculous but we got a new sectional and it's totally changed the dynamic of our living room, which is our main place to hang out. It feels like a new room. We got rid of 5 pieces of furniture (!!) and I love it in here. With a new ottoman (a Gibbons Garage sale find, 10$!), some beautiful handmade floor pillows (courtesy of the lovely Echo) I thoroughly enjoyed relaxing this weekend while Garrett was in L.A. I made some duck stock, some ridiculously sweet/easy squares and made it my goal to clean out my freezer/pantry/fridge: hence, a split pea soup.

Since we were both away last week, our fridge is now almost completely empty; it's a great feeling.

Split Pea Soup

(adapted from Company's Coming Slow Cooker Creations)

5 cups stock (I used 2 cups duck stock, 3 cups chicken stock)
2 cups split peas (well rinsed and drained)
1 large onion, finely chopped
2 cups ham (Mine was from the depths of my freezer from earlier this year)
2 carrotss, sliced
2 sprigs thyme
dash of salt and pepper

Combine all ingredients in a 4 quart slow cooker. Cook, covered, on low for 8-10 hours or high 4-5 hours. Makes about 8 cups. (1 cup = 207 calories, 2.9 g of fat, 28g carbohydrates, 5g fibre, 16g protein)

The timing of this recipe couldn't be better; today is a cool, rainy, windy day here in Edmonton. I love coming home to a house smelling like slow cooked food. Once I got home I added about 1.5 cups of water since it was SO thick. I cooked it for 9 hours but 8 would probably do it. Split pea soup isn't the most appetizing looking so I figured I didn't need to photographically document this one. But here's a cute picture of Lando, desperately wondering where Garrett is.

May 1, 2012

Operation Macaron

My dear friend Peeps and I (among others in Edmonton) could probably go to Duchess every day if our budgets and butts allowed. It's also become Garrett and I's fav place to go for a snack and a coffee pre-dog park with Lando since it's quite close. I like to try something different each time I go there but I always have at least one of their adorable, delicious macaron. I figured that they must be an awful lot of work, considering how much they cost; I also thought it would be a fabulous way to christen Peeps beautiful new kitchen!

This blog post by the Wedding Chicks is so fantastic that I'm not even going to bother trying to write my own description of how things went down, since we followed the instructions step-by-step, by the page. I'll post our pictures and our observations but definitely read their post and oogle at their lovely photos!


The blog stressed the importance of gathering all your ingredients and materials so everything is ready to go. I think working with a second set of hands was also super important. That little bag of almond meal was about $12 at Save-on-Foods so next time I may be grinding my own blanched almonds. It just seemed easier to buy it this time!


CUTEST YOLKS! Fun tip: you can easily freeze egg yolks! They can thicken then you freeze them but to prevent them from becoming too gelatinous, add 1/8 tsp of salt per 4 eggsOR 1/4 cup corn syrup, depending on what you plan to use them for later (savory dish vs. sweet dish). Label them!


It was Easter so we thought pink would be a fun color.


You'll notice that these turned out kind of lumpy and not as smooth as your traditional macaron. We have chalked this up to not having a tip for our piping bag. We need to take a trip to Russell Foods here in Edmonton and get some stuff!


Not super smooth, but great feet!


Peeps called them monster macaron since they are HUGE and couldn't stand on their own.  We went for a simple vanilla buttercream filling with yellow coloring, again for Easter!


Despite their initial unprettiness, they broke down just like Duchess and they tasted DAMN good!


Macaron are best if eaten within a couple days which was really no problem at all. All in all we learnt a lot and I think that next time we make macaron that they'll be even better! I think I might try to whip some of these up for Peeps bridal shower, if I'm feeling especially motivated. I'm looking forward to trying more flavors.

April 12, 2012

Game of Thrones

I've never read the Game of Thrones books but from what I've been told, they go into great detail about food, to the point that a couple awesome people have created a blog dedicated to their love of the books and of food. Garrett and I randomly picked up a delish looking duck and saved it to make for the Game of Thrones season premiere. Eventually it turned into a crazy feast, but here's what I did.

Lots of people asked where I got the duck; it was just from Save-On Foods, on sale one week!

Pentoshi Style Duck (Honey & Orange Roasted Duck)
(modified from Inn at the Crossroads)

Ingredients
  • 1 whole duck, rinsed
  • 1 tsp cardamom
  • 2 teaspoon powdered ginger
  • pinch of pepper
  • 1 teaspoon salt
  • 1 orange, quartered

For the sauce

  • 3/4 cup honey
  • 1/2 cup butter
  • 1 teaspoon lemon juice
  • 1/2 cup orange juice concentrate
  • pinch of pepper


    Preheat oven to 350 degrees F. Rinse duck inside and out, removing gizzards and saving them for broth. Criss cross the breast to expose the layer of fat but not cutting too deep into the meat. This will help get the skin as crispy as possible!

    In a small bowl mix together mix together the cardamom, ginger and salt and sprinkle mixture on inside and outside of duck. Stuff duck with orange quarters and lay in roaster.


Side note: can someone explain to me why this much cardamom costs NINE DOLLARS?

In a small saucepan combine the honey, butter, lemon juice and orange juice concentrate. Simmer together over low heat until syrupy; pour a little of the mixture over the duck, saving the rest for a sauce. Cover roaster.

This sauce was so damn delicious, I want to make an orange honey butter spread of it next time. I may have dipped biscuits into this sauce by the end of the night...

Roast duck in preheated oven for 30 minutes, breast side up. Turn duck breast down, reduce heat to 300 degrees F (150 degrees C) and roast covered for another 3 to 3 1/2 hours, or until very tender, flipping about every hour. Turn duck breast up during last few minutes of cooking to brown. Use a meat thermometer!


I got a lot of great pointers from The Hungry Mouse who has tons of great photos of the process and fantastic decriptions! I had never done duck before and not being the biggest fan of poultry I haven't done a lot of chickens or turkeys and typically leave the dirty work of removing the innards to someone else (i.e. Garrett) so I was pretty proud of myself for doing this. I have all the parts, along with a TON of duck fat and the leftover bones sitting in my freezer, waiting for a day to become broth. I'm taking suggestions on what to fry with the duck fat...

I also made some simple tea biscuits...

and the rest of the crew brought their game. Wild boar roast wrapped in boar bacon, goose legs, slow cooked mulled wine, salad and cheesecake. WE ARE THE BEST.


We'll need some way to beat this for the season finale; horse heart anyone?

March 25, 2012

French Toast Casserole

I've wanted to make something like this for a long time and I figured that a Sunday off for both Garrett and I would be a great time to do it. So post gym I grabbed some bread and milk and got to it. And let's be honest, this is basically bread pudding that you eat for breakfast so what could go wrong?

French Toast Casserole
(modified from Everyday Sisters)

5 cups of any crusty bread or baguette, torn in pieces
5 eggs
2 cups whole milk
3 tablespoons brown sugar
1 teaspoon vanilla
1/2 teaspoon salt
1 teaspoon cinnamon
1 cup Saskatoon Berry syrup
Optional: icing sugar for garnish

Let's do this thang:

1. Preheat oven to 425 degrees F. Grease 9x13 casserole dish.
2. Pour about 1/2 cup of syrup in the bottom of the casserole dish. Layer torn bread on top of the syrup.
3. Beat eggs, milk, sugar, vanilla, salt and cinnamon. Pour egg mixture evenly over bread in casserole dish and press bread down to make sure it's soaked.
4. Drizzle remaining syrup over top of bread and custard. Bake for 30 minutes until casserole is puffed up and crunchy on top. Watch your dish too, some of the corners of my bread pieces were a little too crispy due to my ultra hot oven.
5. Remove from oven and garnish with icing sugar on top and serve while hot.

I threw some strawberries on top too, just for deliciousness and to look pretty! I didn't figure out the points or calories for what is likely to be a not-so-good-for-you dish, but whatevs. It's Sunday. I think you could easily modify this recipe by adding a couple overripe mashed bananas, or some blueberries or saskatoon berries, or using raisin bread. OR use maple syrup instead of saskatoon berry syrup, as the original recipe recommends.


Trying to get back to regular blogging. I've been eating out more than normal lately which is no good, both healthwise or for my wallet. It's about 3 months until Peeps wedding so I'm majorly stepping it up at the gym and while breakfasts like today don't help that, sometimes you need to forget about calories, grams of fat and sugar content. I'm over halfway to my weightloss goal that I started just over a year ago and I need to remind myself that that is pretty damn fantastic.

For optimal results, enjoy this dish with a cup-o-earl-grey tea, an Oilers afternoon game and PJs.

January 14, 2012

Vanilla and Rocky Road Ice Cream

My triumphant return to the blog world. Well, triumphant may be a bit of an overstatement; I'm just hoping my fans (Hi Mom!) will forget that whole blogpostperday challenge from a couple months ago. I feel silly not posting this fall, I've made some awesome things lately and I just need to not be so lazy. Story of my life?

For Christmas, Garrett got me yet another gift that keeps on giving: Ice Cream Maker KitchenAid attachement!


The only real con to this attachment is that it's difficult to make ice cream on a whim; the bowl needs to be in the freezer for a minimum 15 hours before use. The guide recommends to keep the bowl in the freezer at all times, but with the size of our freezer, that isn't really an option; however I anticipate it living in there during the summer. The wait time to freeze the bowl isn't so bad, since its likely that the ice cream recipe requires the mix to chill for a few hours before adding it to the ice cream maker.

I thought I'd start with the basics....

Vanilla Ice Cream

Ingredients:
  • 2 1/2 cups half and half
  • 8 egg yolks
  • 1 cup sugar
  • 2 1/2 cups whipping cream
  • 4 teaspoons vanilla (I used my homemade bourbon vanilla, it was superb)
  • 1/8 teaspoon salt
How To:
  1. In medium saucepan over medium heat, heat half and half until very hot but not boiling; stir often. Remove from heat and set aside.
  2. Place egg yoks and sugar in mixer bowl and use wire whisk, or beat slowly (Speed 2) with electric mixer until well blended and slightly thick. Slowly add half and half mixture until well blended.
  3. Return this mixture to the saucepan over medium heat until small bubbles form around edges and mixture is steamy, stirring often; do not boil!
  4. Transfer this mixture into a large bowl and stir in whipping cream, vanilla and salt. Cover and chill at least 8 hours.
    TIP: Once mixture is complete, put it into a pitcher to make it easier to pour into your KitchenAid.
  5. Mix according to ice cream maker instructions and transfer to airtight container to freeze.

Once I whipped the mixture up in the freezer bowl (which gets SERIOUSLY cold), the result was a creamy soft serve ice cream. Once it was frozen overnight, it became harder and a little more like 'traditional' ice cream. This recipe, which was in the KitchenAid instruction manual, was really tasty but slightly too rich for me; it caused more than a few tummy aches over here. I'd like to try it again with whole milk instead of whipping cream. Most of the 'dairy' can be substituted in any ice cream recipe, although consistency will vary; especially with skim milk.

After the initial success of the vanilla recipe, and a lot of leftover whipping cream and half & half, I thought I should make some more...

Rocky Road Ice Cream

Ingredients:
  • 1 (14 ounce) can sweetened condensed milk
  • 1/2 cup unsweetened cocoa powder
  • 2 cups whipping cream
  • 1 cup half and half
  • 1 tablespoon vanilla extract
  • 1/2 cup chopped pecans
  • 1 cup miniature marshmallows
How To:
  1. In a medium saucepan over low heat, cook and stir condensed milk and cocoa until smooth and slightly thickened. Remove from heat, allow to cool slightly. Stir in whipping cream, half and half and vanilla. Refrigerate until cold, ideally overnight.

  2. Attach KitchenAid Ice Cream bowl to mixer or freeze the mixture using your ice cream maker's directions. Turn mixer on 'Stir' and mix for 15-20 minutes. With a few minutes left, stir in nuts and marshmallows.

  3. Put ice cream into airtight, freezable container and freeze for 2 hours for optimal tastiness!

Both recipes have received rave reviews from, well, me. I knew when Garrett brought home the KitchenAid that I'd have lots of fun with the attachments, I didn't even think this one would be so amazing. While summer seems a million years away today, I can't wait to live off gelato and sorbet! Feel free to comment with some suggestions on what to do next!

October 1, 2011

Day 1 of Self Imposed Blogging Challenge

Today's post was made instantly easier when Garrett surprised me with a beautiful, black KitchenAid mixer!

I was so stoked to clean off part of the counter to find it's new home, which I'm not totally sold on yet... right above is where I keep all my spices, baking goodies, canned goods etc and I see some sort of terrible, terrible accident happening.

I can't believe I actually have one of these.

I tried her out today, making these cookies again. The first time I did them in that post, I mixed the dough by hand. The second time, I mixed them using my Cuisinart hand mixer which I've decided is a little bit too powerful, because for this recipe, it almost whipped the dough and made the consistency too smooth. The cookie bites were good but not chunky like I prefer. When I made them tonight in the mixer with the flat paddle on 2 it was just perfect. And for such a sticky, tough dough, it was much easier than mixing by hand, and it kept the chunky texture that I love.

Tomorrow, I make bread.

September 26, 2011

Ale'd Ginger

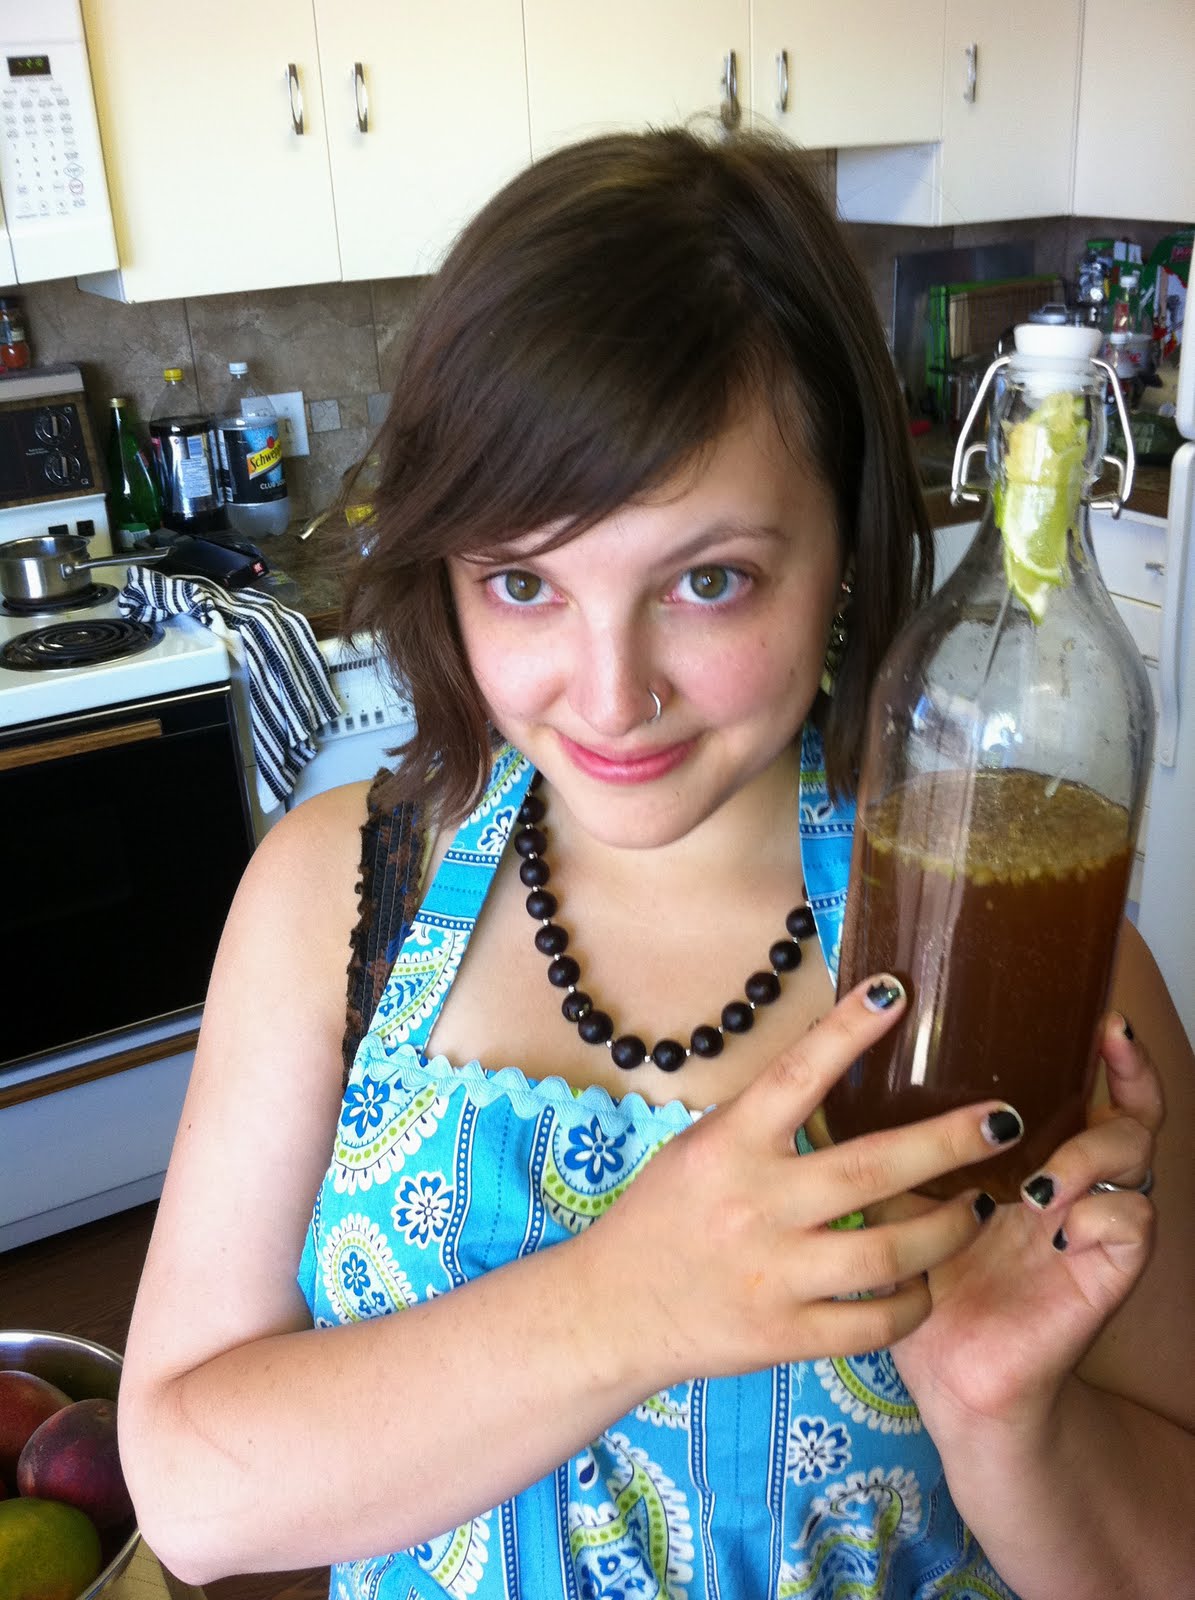
I think the reason I wanted to make my own ginger ale is because I spoiled myself with 'real' ginger ale from Planet Organic, Blue Sky Jamaican Ginger Ale.....


...not just Canada Dry, and I couldn't deal with buying the fancy stuff anymore. Plus I got an adorable bottle from IKEA and had to use it on something equally adorable.

Now, traditional ginger ale is typically made with yeast to create the bubbles. I opted to use club soda since I simply couldn't wait for multiple days to drink it, and the idea kind of scared me.

Homemade Ginger Ale

Ingredients:
1 cup diced ginger (tip: peel the ginger using a spoon (thanks Annand!) and then chop)
1 cup brown sugar (you can use white, but brown will give the ale a nicer color)
club soda
lime (zest and juice)

1. Bring 2 cups of water to a boil in a small saucepan. Add ginger and zest of one lime. Reduce heat to medium low and let ginger sit in the simmering water for 5-10 minutes. Remove from heat and let sit for 20 minutes minimum, or overnight for a spicier ginger flavor. Once the ginger has steeped for your desired amount of time, strain liquid through a fine mesh strainer.

(Normally you would discard the ginger pieces here; last time I saved the ginger and froze it, hoping I can do something with it eventually. It may just end up being used to enhance the next batch.)

2. In a separate saucepan, make a simple Syrup by dissolving 1 cup sugar into 1 cup of boiling water. Set aside to cool.

3. Combine all simple syrup, all ginger water, juice of one lime and club soda to taste in a bottle that will keep the fizz, or drink immediately. Serve with a wedge of lime.

I'm going to try to blog, in some way, for every day of October. It would have been wise to save this post until Saturday, but I received a request from one of my favorite food bloggers, former Edmontonian and current Texan, to post this recipe! Since I receive so few requests, I just had to do it. Take a look at Marynika's blog; the pictures are stunning and as a very lucky tester of some of the baking, the recipes were fabulous.

Enjoy, and look forward to more posts! I can't promise that they'll all be recipes but I'll do my best to make sure it's food related.

August 9, 2011

Stuffed Pasta Shells

I came to stuffed pasta shells for the first time when I worked in Yellowknife and I built these awesome lasagna rolls. My second fam, the Lindstroms, are big on stuffed pasta shells. Like, really big. Like, I'll be helping them make hundreds of these bad boys next summer for the Wedding of the Century (aka Peeps wedding, which I can't possibly be more excited for). This is one of those recipes that I created myself after quickly perusing multiple stuffed shells recipes on the interwebz.

I didn't think to take photos until they were basically done. But don't worry, you didn't miss much.

Let's stuff!

Stuffed Pasta Shells
A-La-Michetti

Simple Tomato Sauce (quick version of my own recipe)
1 tsbp olive oil
half yellow onion finely chopped
1 clove garlic
dash of red pepper flakes
3-5 basil leaves, chopped
1 can diced tomatoes, drained
A few squirts of tomato paste (which I found in a tube, thanks to Mrs. Peeps, at the Italian Market...great for when you just need a bit!)
Salt & Pepper to taste

Saute onion in oil; once softened, add garlic and red pepper flakes. Add diced tomatoes and tomato paste and S&P to taste. Let simmer for as long s you can. I would normally add some marsala or red wine, but I was out and short on time. I would also typically puree this mixture but I thought why not leave it chunky?

Everything else...
1 350g package jumbo pasta shells (Italian Centre Shop has a huge variety on the cheap!)
1 pound Italian sausage meet
1 large egg
16-ounces ricotta cheese
10-ounces chopped frozen spinach, thawed, squeezed dry (or 10 ounces chopped fresh spinach)
3/4 cup Panko bread crumbs (or your own!)
1 cup grated Parmesan cheese

2 baking dishes (this made me enough for one full 9X13 dish and a square 8X8 that I could freeze for another night!

What to do:

1 Bring a large pot of salted water to a boil. Cook the pasta shells until al dente. Drain, rinse in cold water, and set aside.

2 Saute meat until brown, drain extra oil.

3 Beat the egg lightly in a large bowl. Mix in the ricotta, chopped spinach, 1/2 cup of the Parmesan cheese, panko, salt, pepper, and sausage mixture. Fill each cooked pasta shell with some of the ricotta, spinach, sausage mixture.

4 Spread half the simple tomato sauce on the bottom of pan(s). Arrange the stuffed pasta shells in the dishes. Spread the remaining tomato sauce over the top of the pasta shells.

At this point you can make ahead, to freeze (up to four months) or refrigerate before cooking. (If freezing, cover with foil, then wrap with plastic wrap.)

5 Heat oven to 375°F. Cover the pans with foil and bake for 30 minutes, until hot and bubbling. Remove foil and sprinkle with remaining Parmesan cheese, bake uncovered for 10 more minutes.

These ended up freezing really really well, both uncooked and once I cooked a tray and froze it into portions. YUM! Wedding '12, here we come!

Paired with homemade Caesar salad dressing. DANG!

On a (slightly more) personal note, we lost our floor troll/poor man's Roomba/loving cat Solo last week. We already miss him a lot, and he was around to help me make this dish, as he often did in the kitchen.

Solo Snowballs Green

June 26, 2011

(Ro)Coco for Cocoa

Ever since Peeps and I made these brownies a few weeks ago, I've been craving chocolate. It's like something in my lady brain was triggered and reminded about my love of chocolate. And thus, the next two brownie based recipes.

Triple Chocolate Brownie Cookies
(Taken from the Edmonton Sun)


I really have Garrett to thank for these. If he hadn't gotten locked out of the house and had to kill time before I got home from the U2 concert and found himself at Original Joe's reading every newspaper he could, he would have never found this recipe for me. I wish I could credit this recipe to someone because it's daaaamn good. They are bordering on healthy, being made with heart-healthy canola, no butter, minimal sugar and natural ingredients.

I found my cocoa nibs at Planet Organic, for about $14.99 for this large bag. Cocoa nibs are roasted cocoa beans, seperated from their husks and broken into small bits. They are quite bitter and crunchy and don't have the added sugar that chocolate chips have, being that they are just the beans. Most cocoa nibs are ground into a paste and become a liquor that go into 'chocolate' by adding cocoa butter, sugar and vanilla. Apparently the nibs are very high in antioxidants, with more than red wine and green tea! They also have beneficial effect on the heart and circulatory system.

Triple Chocolate Brownie Cookies
3/4 cup packed brown sugar
6 tbsp canola oil
2 tbsp honey
1 omega 3 egg
2 tsp pure vanilla extract
1/2 cup natural cocoa powder
3/4 cup whole wheat flour
1/4 cup cocoa nibs
1/4 chocolate chips/chocolate chunks of at least 60% cocoa mass
2 tbsp bran
1/4 tsp baking soda

Preheat oven to 375. Line a baking sheet with parchement paper.

Beat together brown sugar, oil, honey, egg and vanilla in a medium bowl using an electric mixer until batter is creamy, about 3 minutes.

Beat in the cocoa powder gently (or else it will fly everywhere!) on low speed until incorporate, then beat for about a minute.

Stir together flour, cocoa nibs, chocolate chips, bran and baking soda. Add flour mixture to cocoa until well mixed. Batter will be VERY sticky; I ended up adding about a 1/4 cup of warm water to the batter to make it manageable. I also found that, when I did my second tray and the batter had some time to sit, that it was easier to deal with. So let batter sit until the oven is preheated.

Drop batter by teaspoonfuls onto the baking sheet about an inch apart. Bake until outside of cookie looks crunchy and they have puffed up, about 8-10 minutes. I found I only needed 7mins in my super powered oven.

Just like brownies, don't overbake!!

Let cookies cool on sheet before transferring to wire rack. Store cookies in an airtight container or freeze.

Makes 36 (tiny) cookies.

These cookies were perfect fresh-out-of-the-oven cookies. Very moist and soft, very chocolatey!

1 WW point each.


Black Bean Brownies
(Modified from The No-Meat Athlete)


When my new office mate Becca told me she had a recipe for brownies that contained black beans, I was very skeptical (Beans in brownies? Come on McFarlane!); until I tried one. I then needed the recipe immediately so I could re-create them and trick people into eating the healthiest, moistest brownie I've ever had.

1 1/2 cups whole wheat flour
1 tsp salt
1 tsp baking powder
1 3/4 cups raw sugar
1 1/4 cup cocoa
3/4 cups chopped and roasted almonds
1 15 oz can black beans, rinsed and filled with new water
1 tsp vanilla
1 cup water

Preheat the oven to 350 degrees.

Mix dry ingredients (flour, salt, sugar, cocoa, almonds) together, set aside.

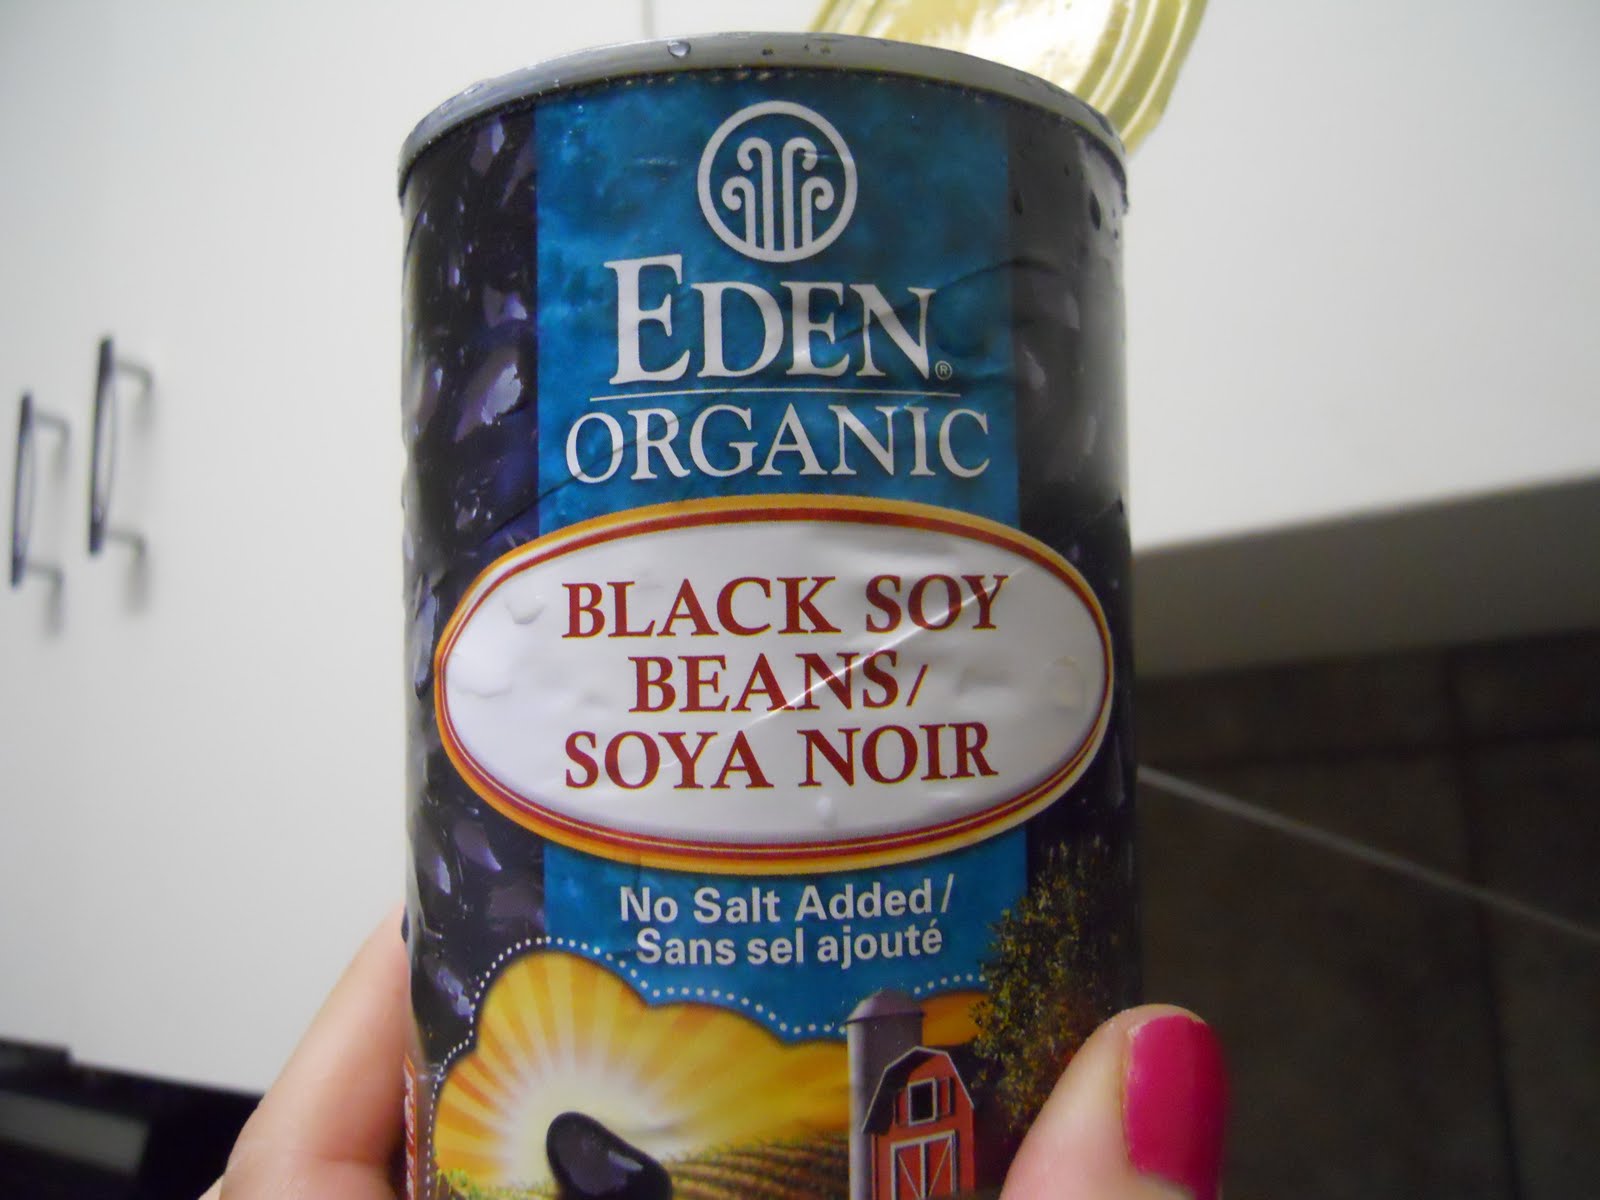
Drain a can of black beans and rinse thoroughly until the water runs clear. Return the black beans back to the can and fill with water. Puree the beans (with water) and vanilla. Add bean puree to the dry ingredients and extra cup of water. Stir to combine.

Pour the batter into a greased 9×13 pan. Bake for 25-30 minutes, rotating the pan around halfway through. When the brownies are finished they should be firm in the center and the edges will be slightly puffy and starting to pull away from the sides. My batch was finished at 25 minutes. Again, don't overbake!

Let brownies cool then cut into 24 squares.

I was SO happy with how these turned out! Very moist, no taste of the beans but still very much a brownie despite being super healthy. The original recipe called for hazelnuts (and for double the amount) but I decreased it by half and did almonds since it's what I had on hand. It would be easy to experiment with different nuts or not include them at all.

I made these last Sunday and froze about half of them. They stayed fresh for days and the frozen ones froze really well.

Enjoooooy!

3 WW points each

June 4, 2011

Rhubarb Pound Cake

2 plus months sans post. I really do intend to get better at this! In interest of actually posting this the night that I made it, I'm nixing the photos for this post!

It's the time of year for rhubarb...lots of rhubarb. My lovely mother brings me mass quantities of this bizarre plant that she gets from a family friend. Until now I've almost exclusively paired it with other fruit to make a fruit crisp. This time, I tried something different; cake!

Rhubarb Pound Cake
(recipe modified from April 2002 issue of Harrowsmith County Life)

2 cups fresh rhubarb, cut into 1/4 inch pieces (mine was previously frozen)
1/2 cup sugar
2 cups flour
1/2 tsp salt
1 tsp baking powder
1/2 cup butter, room temperature
1/4 cup apple sauce (original recipe called for 3/4 cup butter but I reduced and subbed applesauce)
1/2 cup sugar (again, recipe called for 1 cup)
3 large eggs
2 tsp vanilla extract

1. Preheat oven to 350F. Line loaf pan with parchment paper.

2. Place rhubarb in saucepan and add 1/2 cup sugar. Stir to coat and cook over medium heat for 5 minutes or until rhubarb begins to soften but retains shape. Remove from heat and drain through a fine mesh sieve. Let cool.

3, Sift flour, salt and baking powder together in a bowl and set aside.

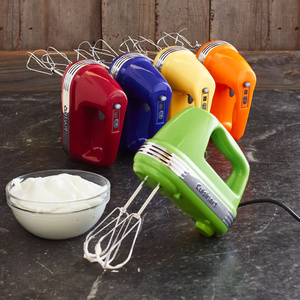
4. Using electric mixer (like me NEW green Cuisinart) beat butter until very soft. Add 1/2 cup sugar and beat until light and fluffy; add applesauce.

5. Using a fork, beat eggs in small bowl. Add vanilla and mix well. Slowly blend egg mixture into the butter mixture. Gradually add flour mixture and continue to blend until well combined. Lightly fold in the cooled rhubarb.

6. Pour batter into pan, smooth top. Bake for 1 hour or until knife comes out of the centre clean. Remove from oven and let sit 5 minutes. Cool.

This recipe equals a total of 62 WW points, so depending on how you slice it up the points value will vary.

On a side note, I picked up Blood, Bones and Butter by Gabrielle Hamilton from the library today. I'm only a few chapters in, but so far it's a beautifully written memoir filled with delicious memories of food, both happy and sad. Pick it up!


Enjoy!

March 10, 2011

New Year, New Foods

Alright. Obviously, in the fall, I was very gung-ho about keeping this updated. After spending all day at work on a computer, the last thing I want to do when I get home is do anything on the computer that doesn't involve celebrity gossip and/or cute kitten videos.

To ease back into this, here's a quick one, sans pictures.

Low-Fat, Low Sugar Basic Muffins
or, Muffins to Avoid Muffin-Top

Combine:
1 1/3 cup cottage cheese
1 cup flour
1 egg
2 egg whites
2 tbsp vegetable oil
2 tsp baking powder
1/4 tsp salt
1/4 cup sugar

Make 1 dozen

Bake for 20-25 mins at 350.

The first time I made these I put in strawberries that I had frozen...they were quite wet and I should have added an extra 1/4 cup of flour. This was also the first time I experimented with the egg whites that you buy in a carton. While I'm fundamentally opposed to using those egg whites for an omelet or quiche, I feel alright using them for baking.

These would be quite bland without adding other spices or fruit. The second time I made these I was inspired by the Funky Monkey Booster Juice that unsuccessfully attempted to cure me of a hangover a couple weeks ago. I added:

2 mashed bananas
1/3 cup cocoa

...and they turned out great! Not quite the same as a big ol' Morning Glory from BeeBell, but in the interest of eating better, these are a great alternative. The cottage cheese adds moisture that compensates for the complete lack of butter and there are many different ways to change the flavor. I'm looking forward to trying chocolate orange, blueberry lemon or apple cinnamon.


This year, Peeps and I are dedicated to mastering pastries of all shapes and sizes. We've already had one baking day with another coming soon; stayed tuned for updates on that.

November 11, 2010

Gourds

Savory

Squash is not something I am very familiar with. It is not something that I grew up with, or even something I’ve experienced much as an adult. Thanks to the powers of the Internet (thank you Mr. Gore), Garrett figured out how to choose a good butternut and acorn squash. Sunday is NFL football day at our house; there are usually people over around dinnertime to watch the night game. I’ve decided that Sundays may be Soup Sundays, and when Jade comes over, Soup’n Dip Sunday. I recently acquired an emersion blender, so I’ve been searching for more recipes that I can make that require such a tool, and a squashy soup sounded like the ultimate fall meal.


This squash went through a lot to be in this soup; it was sliced opened, only to have its pulpy innards scooped out. It was then slathered in a butter and olive oil bath and laid down on a baking sheet to be roasted in a 425F oven for about an hour. As soon as they were sufficiently roasted, they were pulled out and again endured the harsh reality of the spoon to scoop out the rest of the yellow-y goodness.


Winter Squash Soup with Cheese Croutons

(adapted from various online recipes)


Soup
¼
cup butter
1 large onion, finely chopped
4 cloves garlic, minced
6 cups homemade chicken stock

1 whole large butternut squash, roasted

1 whole large acorn squash, roasted
2 cups pumpkin puree
2 teaspoons fresh thyme
2 teaspoons sage
2 teaspoons cumin
1 teaspoon ground ginger
¼ cup whipping cream

Croutons

1 large French loaf
½ cup grated cheese, any kind. I used a creamy havarti.
1 teaspoon minced fresh thyme
1 teaspoon minced fresh sage


For soup: Melt butter in large pot over medium heat. Add onion and sauté until clear, then cook with garlic for another few minutes. Add herbs and cook for 2 minutes. Add broth, squash and pumpkin and bring to boil. Reduce heat, cover and simmer until squash is very tender, about 15 minutes. Puree soup with hand blender. Stir in cream and bring to simmer. Season with salt and pepper.


For croutons: Preheat broiler. Slide loaf. Butter 1 side of each bread slice. Arrange bread, buttered side up, on baking sheet. Broil until golden, about 1 minute. Turn over. Sprinkle cheese, then thyme and sage over. Sprinkle with salt and pepper. Broil until cheese melts, about 1 minute. Ladle soup into bowls. Top each with croutons and serve.


The result was a very thick uniform soup that looked like a mango purée. The color was like the autumn trees before the winter wind forces its leaves to the ground. This soup was incredibly easy to make and relatively good for you with a minimal amount of cream. Everyone enjoyed it and I’m glad I made extra croutons.


-- -- -- -- -- -- -- -- -- -- -- -- -- -- -- --


Sweet


Pumpkin is a gourd that I am slightly familiar with. One of my first cooking experiences with pumpkin was when I attempted making pumpkin pie from scratch. At the time, I didn’t realize that for pies, one would use a sugar pumpkin, not the jack-o-lantern kind. It took me forever to cut up the pumpkin and prepare it – by boiling, for some ungodly reason – only to have the pies come out of the oven looking like pale baby food. I haven’t been brave enough to attempt it again. These days, I always have pumpkin on hand for the cat but it’s been a while since I made something with pumpkin again. I did make pumpkin cream cheese bread last year, but I wanted a recipe that didn’t require 6 (!!) eggs, so I varied this recipe that I found. And just try not to think of eggnog when you add that nutmeg.


Pumpkin Cream Cheese Bread

(Nancy Creative, October 2010)


Filling:

1 package cream cheese, softened

1/2 cup sugar

2.5 tablespoons all-purpose flour

1 large egg

1 teaspoon homemade vanilla extract

Bread:

1 2/3 cups all-purpose flour

1 teaspoon baking soda

1/2 teaspoon salt

1/2 teaspoon ground cinnamon

1/4 teaspoon nutmeg

1 1/4 cup(s) pumpkin puree

1/2 cup canola oil

2 eggs

1 .5 cups sugar


Preheat oven to 325 degrees. Line a large loaf pan with parchment paper. In a medium bowl, combine cream cheese, sugar, flour, egg, and vanilla; beat until smooth and creamy, then set aside. In a large bowl, blend flour, baking soda, salt, cinnamon, and nutmeg. In another bowl, combine the pumpkin puree, canola oil, eggs and sugar; beat well. Stir the pumpkin mixture into the flour mixture until combined.


Pour half of the pumpkin bread batter evenly into the loaf pans. Spread cream cheese mixture on top of the pumpkin batter and then spoon on the remaining pumpkin batter (don’t worry if you didn’t leave yourself enough pumpkin batter, once you start swirling it will be alright).

Take a knife and swirl the knife around in the layers, creating a marble effect.


Bake for 55 to 60 minutes, or until a knife inserted in center of the loaf comes out clean. Cool bread in pan for 10 minutes; remove to a rack to cool completely.


The original recipe had a cinnamon glaze, which sounded delicious, but with already about 2 cups of sugar in the bread, I decided it wasn’t really necessary.


When I took the loaf out of the oven, I was slightly concerned that I hadn’t left enough pumpkin batter for the top; but the first bite assured me that it was just fine. The pumpkin makes the bread unbelievably moist, and the cream cheese adds a sweet, familiar tang.


Aren’t these eggs lovely? Garrett and I are making an effort to buy free-range eggs, and we’ll be making a trip very soon to Ben’s Meats on the west end to stock up on some meat. These eggs are from Rabbit River Farms in BC, and we found them at the Save-On Foods on 109th. We live across the street from Planet Organic downtown where they have a plethora of products like this, but it’s nice to see things like this in a mainstream supermarket.


Happy gourd-ing!


(Sorry the formatting is off!)


October 24, 2010

Thanksgiving 2010 (first Thanksgiving)

With advice from our respective parents and our only cookbook, Garrett and I felt confident that cooking our first Thanksgiving dinner would be easy, or at the very least, delicious.

(Garrett concentrating very hard...)

Along with the turkey, we made stuffing (of course!), gravy, cranberry sauce (with plenty of leftovers to make cranberry muffins), broccoli, creamed corn (a la Chuck, and my favorite thing in the world).

Graham and Adam brought salad, Curtis brought buns, Kelley brought Tina fudge and homemade brownies, Peeps brought blondies, Liezl brought homemade pumpkin pie, Matt B brought apple crisp and Jesse rounded it off with a tray of cheese and meat for snacks.

Our oven runs a little hot, so we knew it probably wouldn't take as long as people recommended. We were a little concerned that the internal temperature was right even before people arrived, but an emergency phone call (thanks Sharon!) confirmed that tin foil is the greatest thing ever.


Solo celebrated Thanksgiving as well. For those who know Solo, you know he's old (15) and very thin. He got to munch on the giblets, which I think is the main reason that he's now a little bit hefty.
He also eats pumpkin regularly, so we gave him a little bit extra.

Giblet naps

All in all, Thanksgiving dinner went really well. We made a lot of turkey stock with the leftover bones and have some frozen turkey leftovers for future soup. My camera died just as people started eating, but as I type this I'm working on a roasted tomato basil soup for Sunday Night Football! Go Packers!